If you like to tinker and build things, you need a table. Of course you can always build things on the ground, sofa table or dinner table. On the ground there is always the risk, that you step on things and from an ergonomic perspective it sucks. The sofa and dinner table cannot constantly become a workbench (at least in my case).
You can go to IKEA and get a table. But the durable ones are quite expensive and their height is often not ideal for working (more on that later). Another option is to go to your local hardware store and get a nice workbench.
So, why did I build one instead of buying one? For one, good workbenches are expensive (compared to a pile of wood) and in my case the ones available would not fit the small space I had available in my appartment. So to save some money and make ideal use of the space, I set out to build my own workbench. Added benefit, the height can be perfectly tuned to the intended work and body measures.
So what about the height of the plate, is it really that important? Well, depends who you ask, but in general the lighter the work, the higher the build plate. For demanding work, the correct height is the middle of the hand, when standing upright next to the table/worksurface.


In my case, I wanted something between precision work and light work, so I ended up with a worksurface height of 96.7 cm.
A google search of ‘workbench plans’ spits out 31’900’000 results. How to choose one? I went on pinterest and dug around until I found one that I liked and where free plans and a good description are available (the site is still around, https://www.curbly.com/garage-workbench-plans, but unfortunately they put a price tag on the plans in the mean time). The plans are cool, but not sure if really necessary, with the extensive description given on their page.
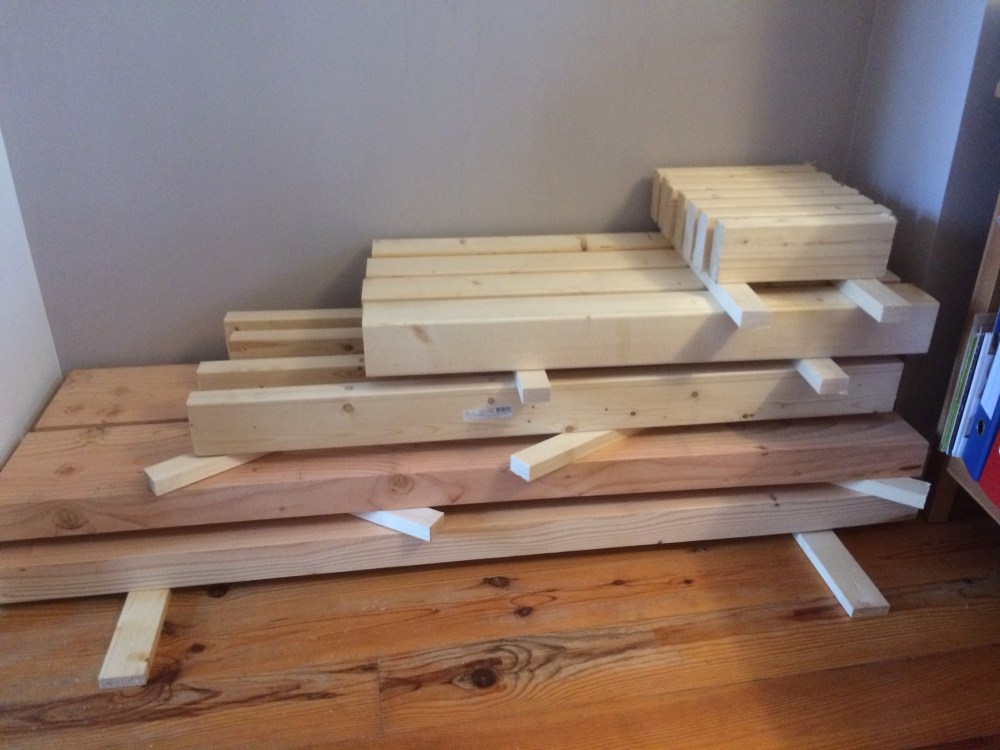
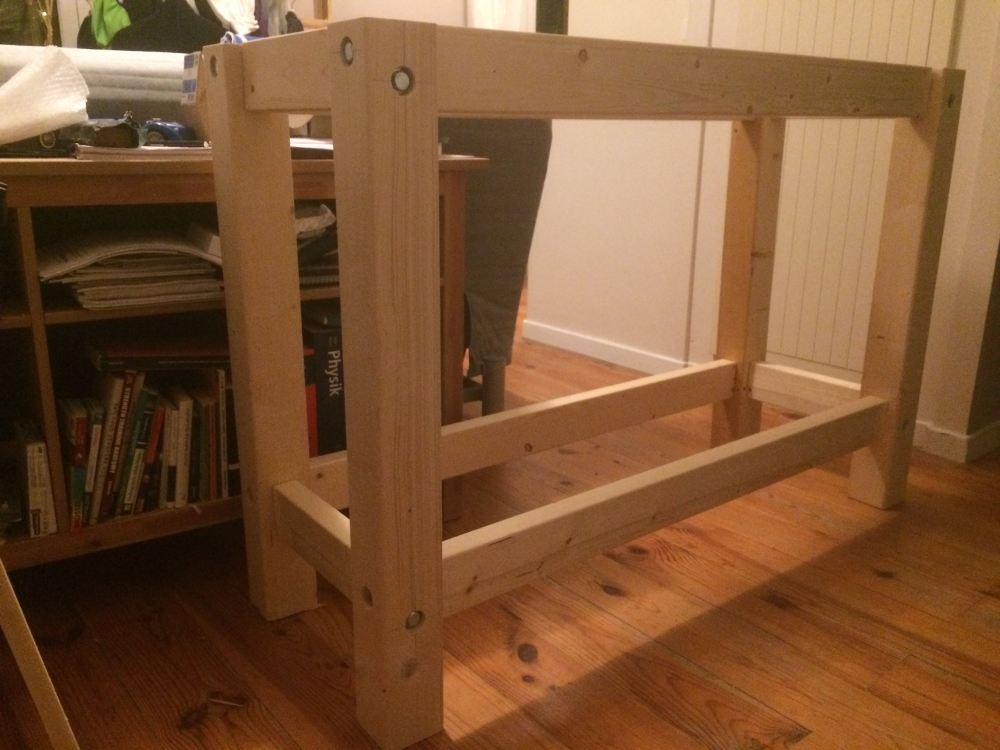
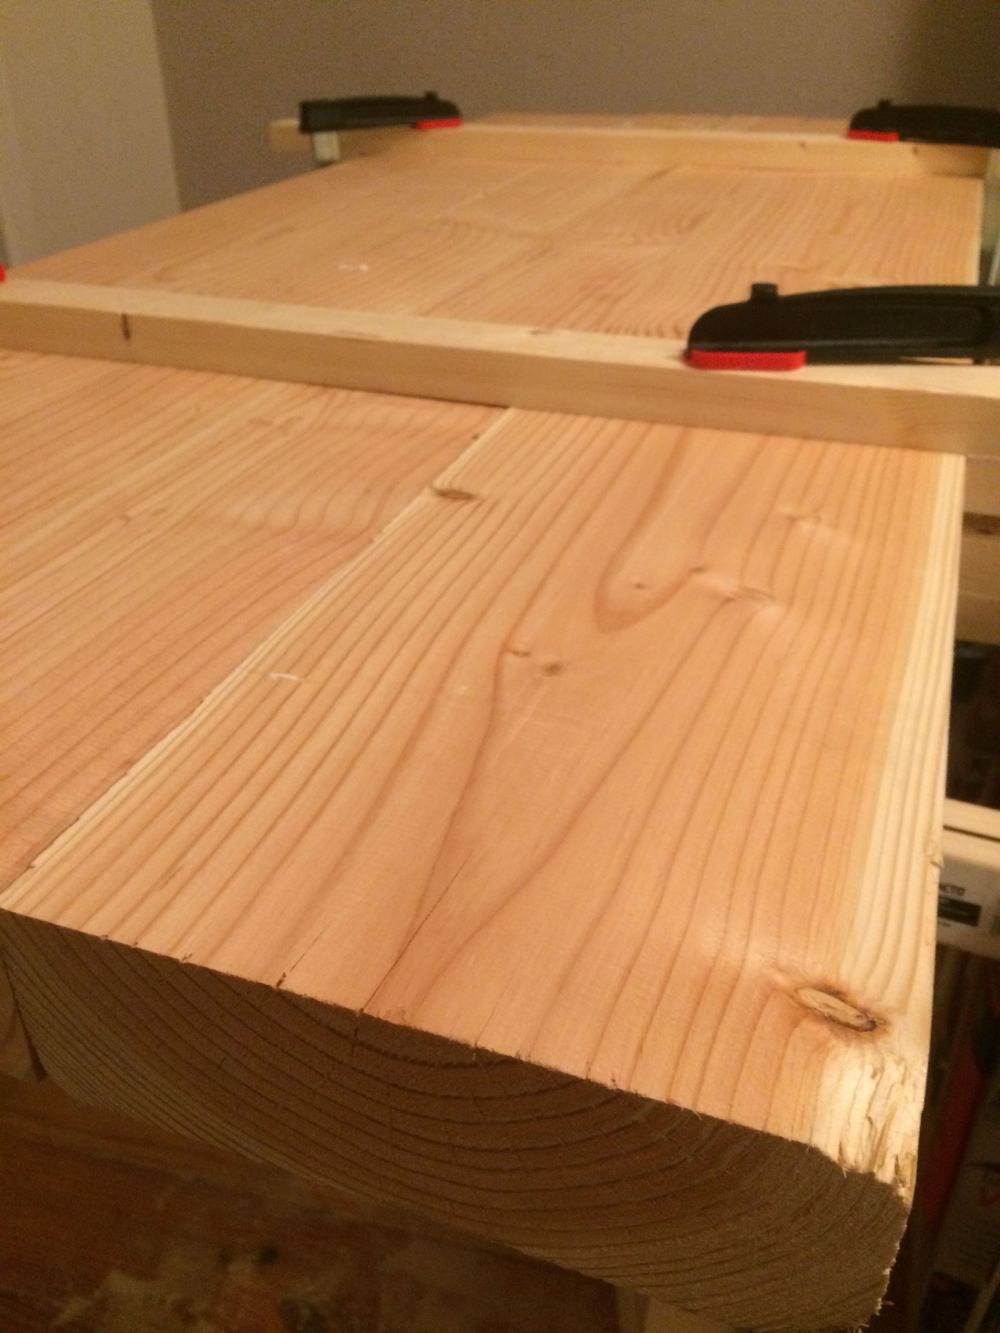
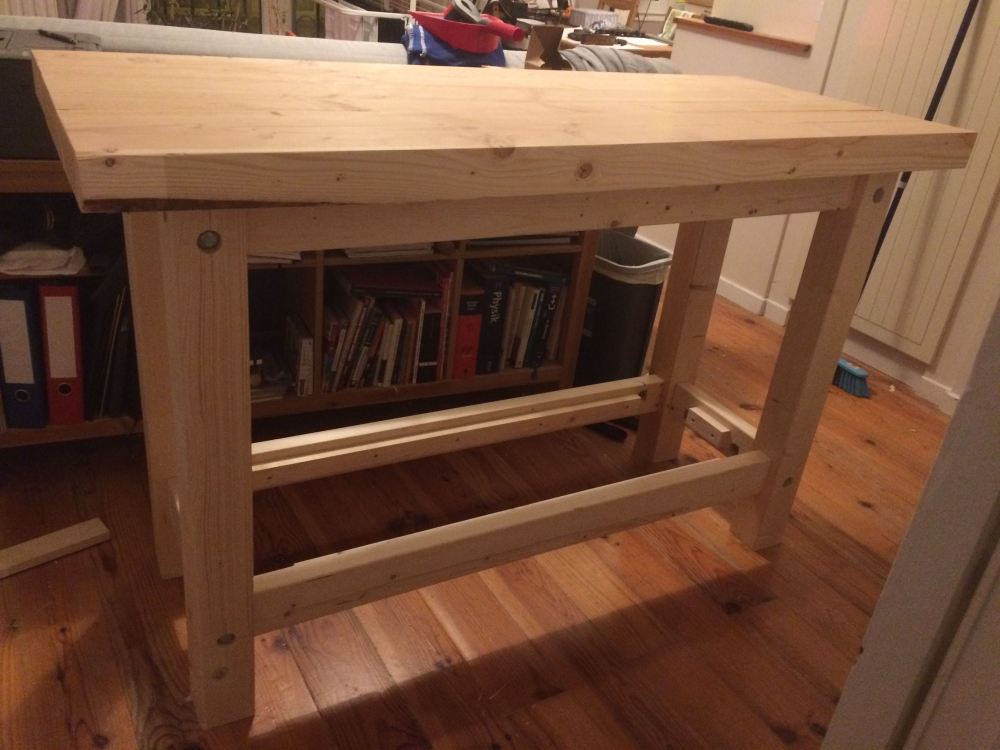
I ended up using slightly different measures, the legs of the bech are 90 mm x 90 mm x 900 mm, which the local woodseller had in stock, and which I got cut to measure. The cross members (front and back) are 44 mm x 94 mm x 1150 mm long and the cross members (left and right) are 44 mm x 94 mm x 300 mm long. All of this sub structure is made from pine wood, which is not exactly hardwood. Actually, workbenches can be made from a variety of woods, but are typically made out of hardwood (typical workbenches ‘Hobelbank’ are often made out of European beech, which looks stunning, but was unfortunately out of my budget). The workplate is made from three plates (67 mm x 210 mm x 1500 mm) glued together and srewed down (up actually through the top cross members).
The workbench uses a technique that relies on ‘bed bolts’, so the entire bench can be disassembled and transported. Also, it looks very clean (compared to metal angles in the corners or similar).
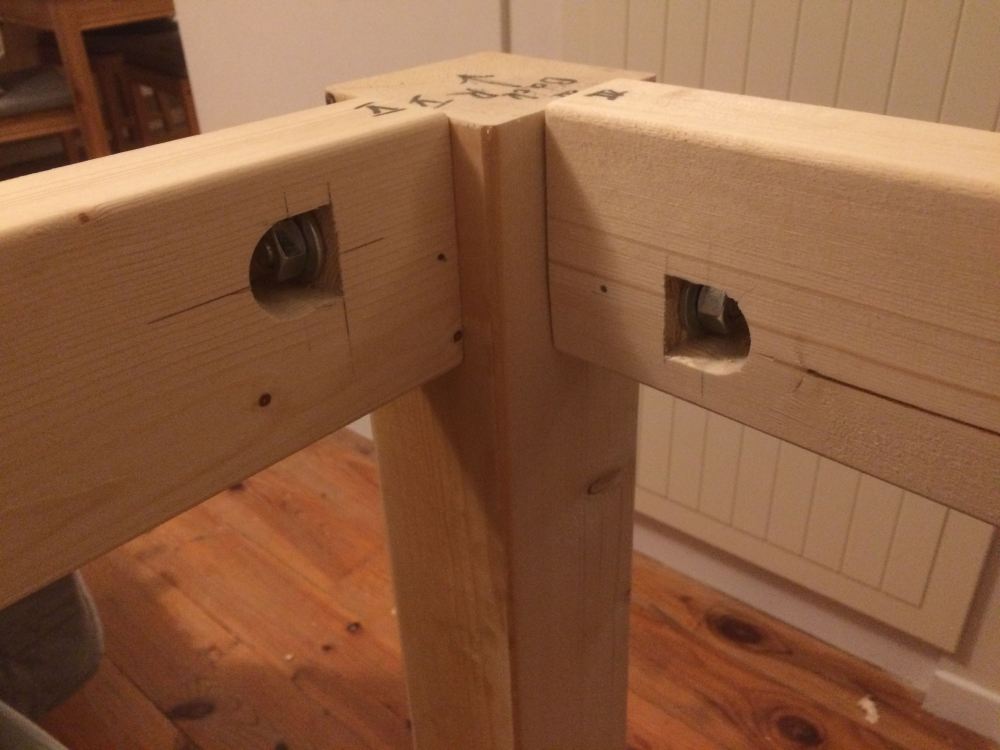
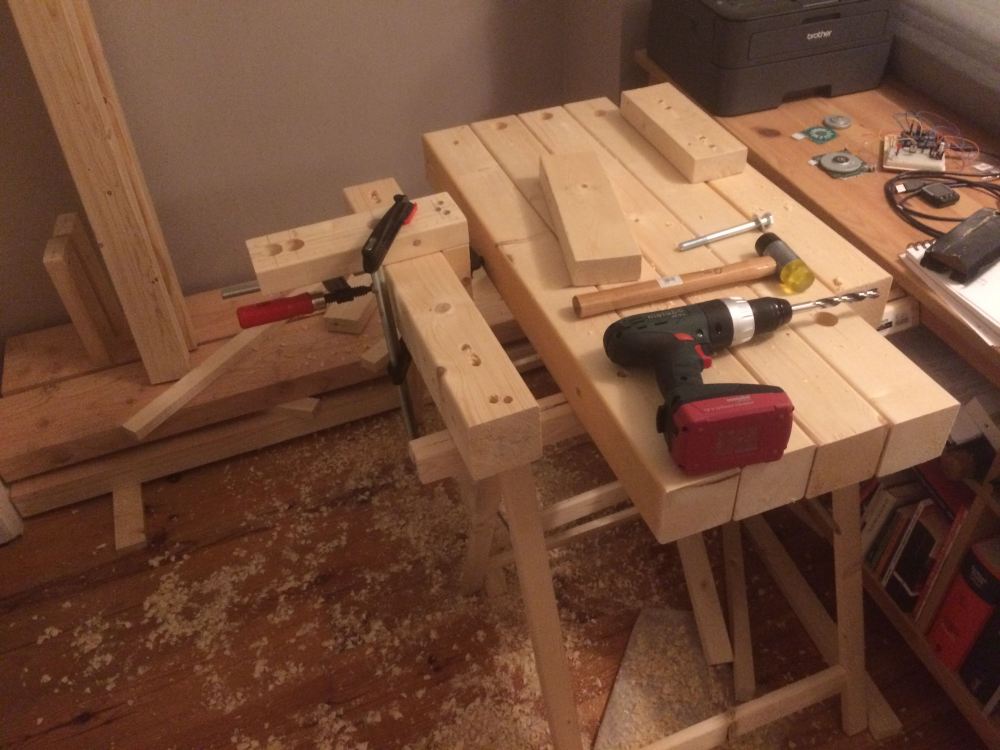
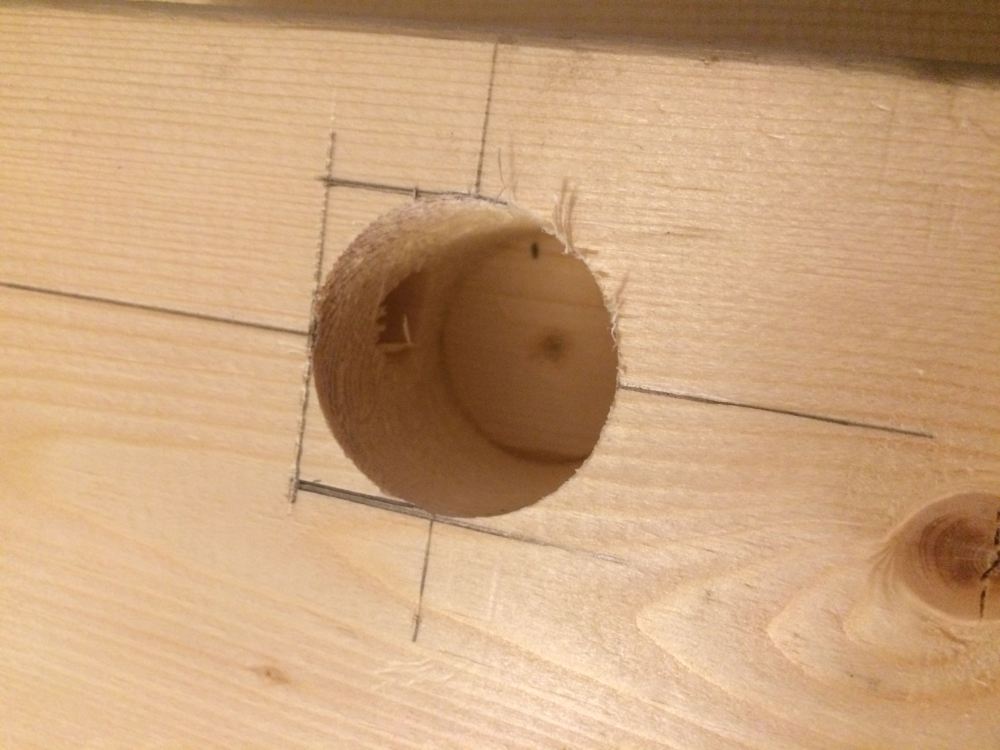
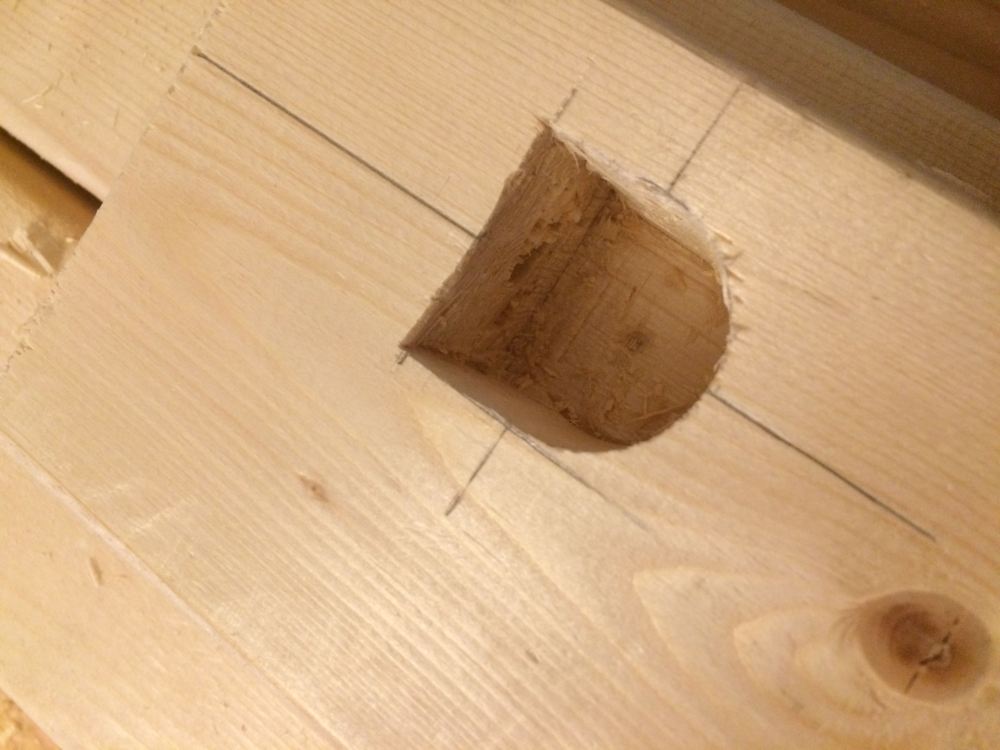
For the woodworking, I started by drilling all the holes in the legs. After that I build a jig to drill the holes in the cross members. Before drilling the holes for the bed bolts, did a dry assembly of the structure.